How to add a map designer to your Shopify store
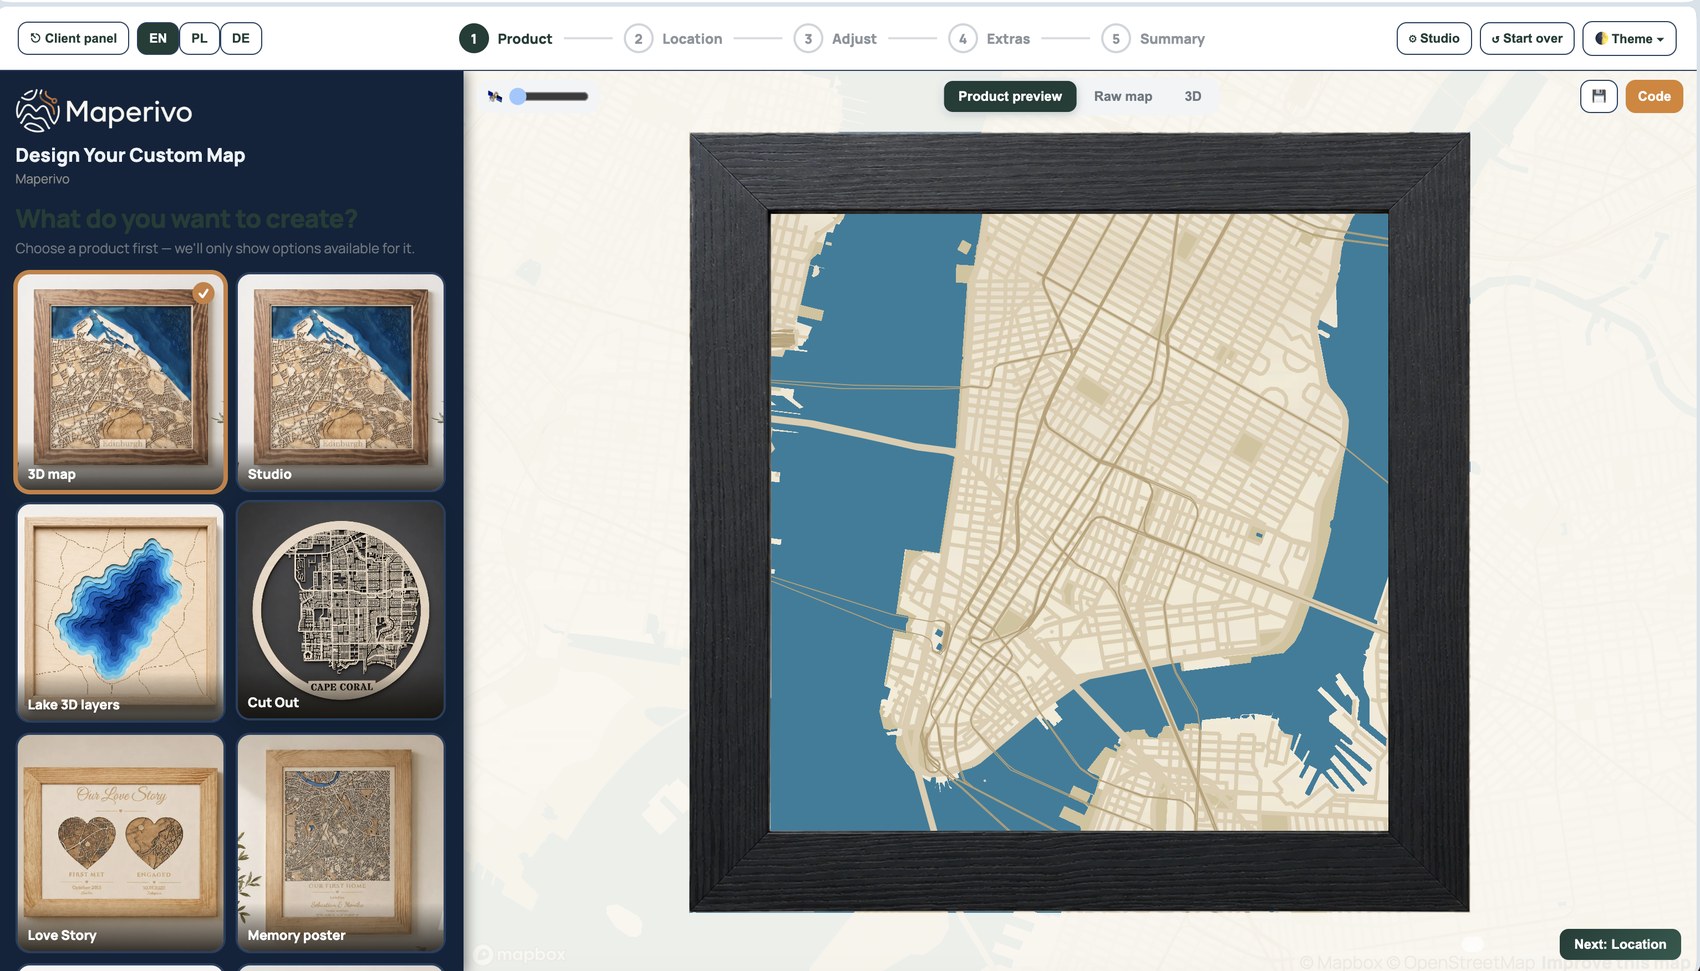
If you sell custom maps, an on-store designer turns every enquiry into a self-service order — the customer designs, you cut. Here is how to set it up.
1. Decide your products and rules
Choose the styles you offer (3D layered, cut-out, lake depth, love story, route) and the sizes and frames you stock. You set the options customers can pick.
2. Embed the designer
Add the Maperivo designer to your product page on Shopify (also WooCommerce, Wix, Squarespace, PrestaShop). For Etsy, share a hosted design link customers open, personalise and return with a project code.
3. Match your branding
White-label the designer with your logo and colours so it feels native to your store. Your prices, your catalogue.
4. Connect it to your order flow
When a customer buys, the saved design attaches to the order as a laser-ready, layered SVG with a unique project code. No message-thread rebuilds.
5. Cut and ship
Open the file in LightBurn, xTool or Glowforge and go straight to the machine. No per-order design time.
Flat monthly price, 0% commission on your sales. See it on the Shopify map designer page and the broader store workflow.
Frequently asked questions
Everything makers and stores ask before their first laser-ready map.
Can customers design a map on my Shopify store?
Yes. Maperivo embeds a live designer on Shopify (and WooCommerce, Wix, Squarespace, PrestaShop; Etsy via a hosted link). Customers personalise the map and you receive a laser-ready file with each order.
Is there a per-sale fee?
No. It is a flat monthly price with 0% commission, unlike customizer apps that take a percentage of every order.
Turn your next location into a laser-ready product.
Free 14-day trial: 50 maps, no card. Commercial use included.