How to laser cut a map, step by step
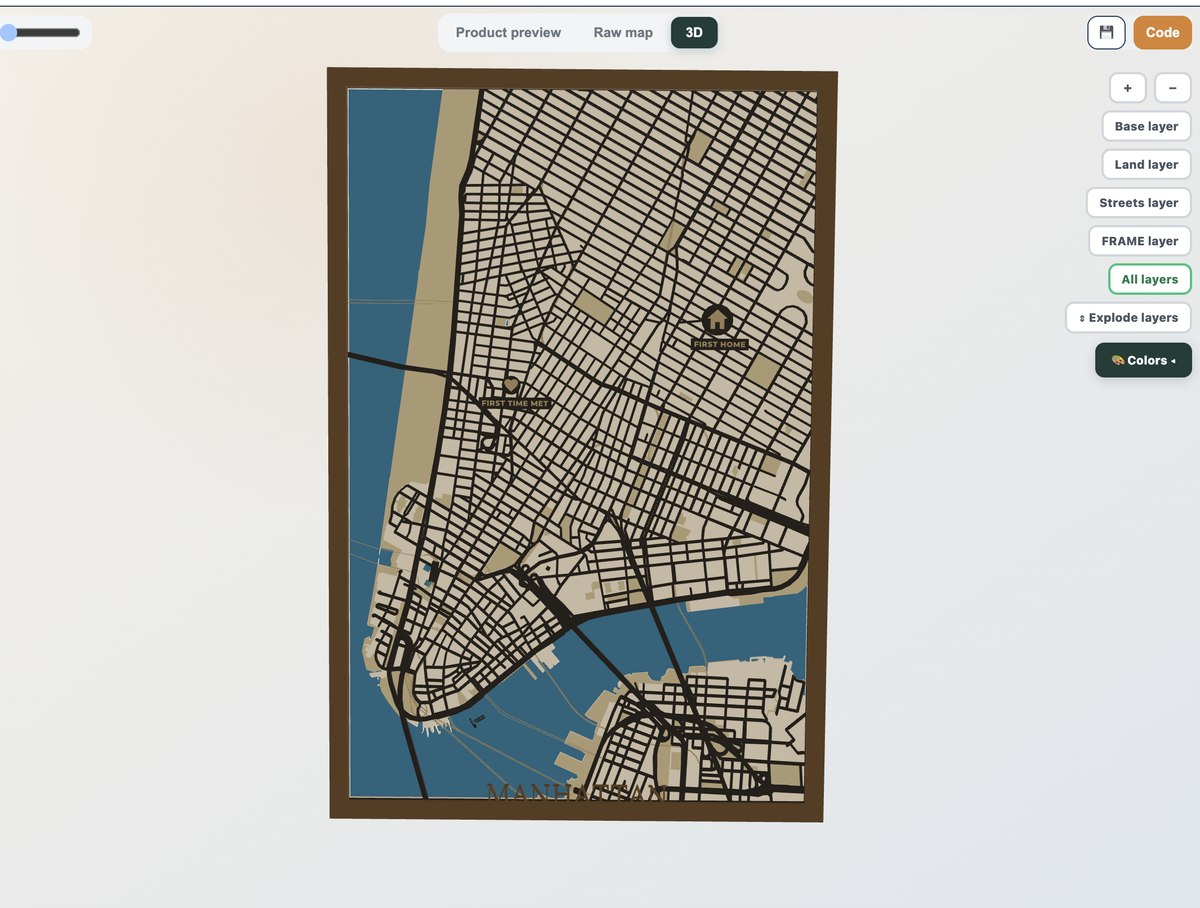
Cutting a map is easy once the file is right. Most problems come from a messy file, not the machine. Start with a clean, layered SVG and the rest is straightforward.
1. Start with a layered file
You want named CUT, ENGRAVE and WATER layers, not one tangled outline. Maperivo exports exactly this, so streets cut, parks engrave and water sits on its own layer.
2. Import and assign operations
Open the SVG in LightBurn, xTool Creative Space or Glowforge. Assign CUT to the street/frame layer, ENGRAVE to labels and parks, and score to thin roads.
3. Set order of operations
Engrave first, then score, then cut last so the material stays fixed while you engrave. Cut the frame or outer boundary at the very end.
4. Test on scrap
Run a small test at your settings for the material. Confirm the cut goes through and the engrave depth looks right before committing the full sheet.
5. Cut, weed and finish
Cut the full map, remove waste, then sand, oil or paint. For layered maps, glue the stack from the base up.
Need a file to start with? Make one in the map generator, or see the different product styles you can cut.
Frequently asked questions
Everything makers and stores ask before their first laser-ready map.
What order should I cut a map in?
Engrave first, then score thin roads, then cut, finishing with the outer frame or boundary. This keeps the material stable while engraving.
Which software opens the file?
LightBurn, xTool Creative Space and Glowforge all open the layered SVG with named layers, so you assign cut/engrave without re-sorting paths.
Turn your next location into a laser-ready product.
Free 14-day trial: 50 maps, no card. Commercial use included.